Blog
Craft Your Scare: Halloween DIY Projects for Kids and Grownups
POSTED October 9, 2025 IN: DIY Projects
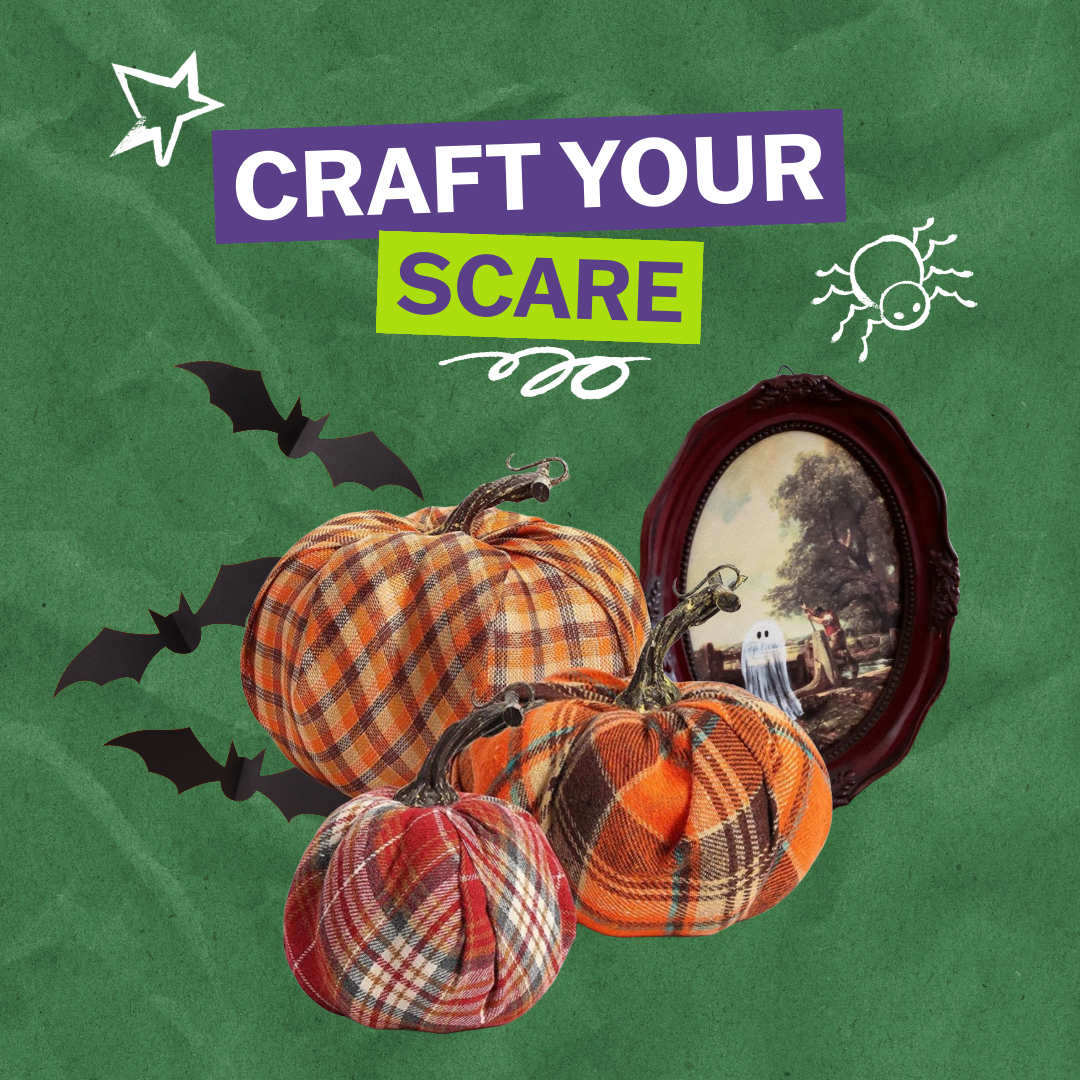
Halloween is the perfect time to get creative—and Evergreen Goodwill is the go-to destination for thrifted finds that can be turned into Halloween magic. A little imagination and a few secondhand treasures go a long way to creating one-of-a-kind decorations that are budget-friendly, sustainable, and full of spooky charm.
👻 Mini Ghosts
Perfect for: Little kids and quick decorators
What you’ll need:
- Lightweight fabric like lace or doilies
- Cup
- Googly eyes or black sharpie
- Small balloon or ball
- Liquid glue or starch
- Water
- Bowl for mixing and soaking
How to make them:
1. In a bowl, combine your glue and water
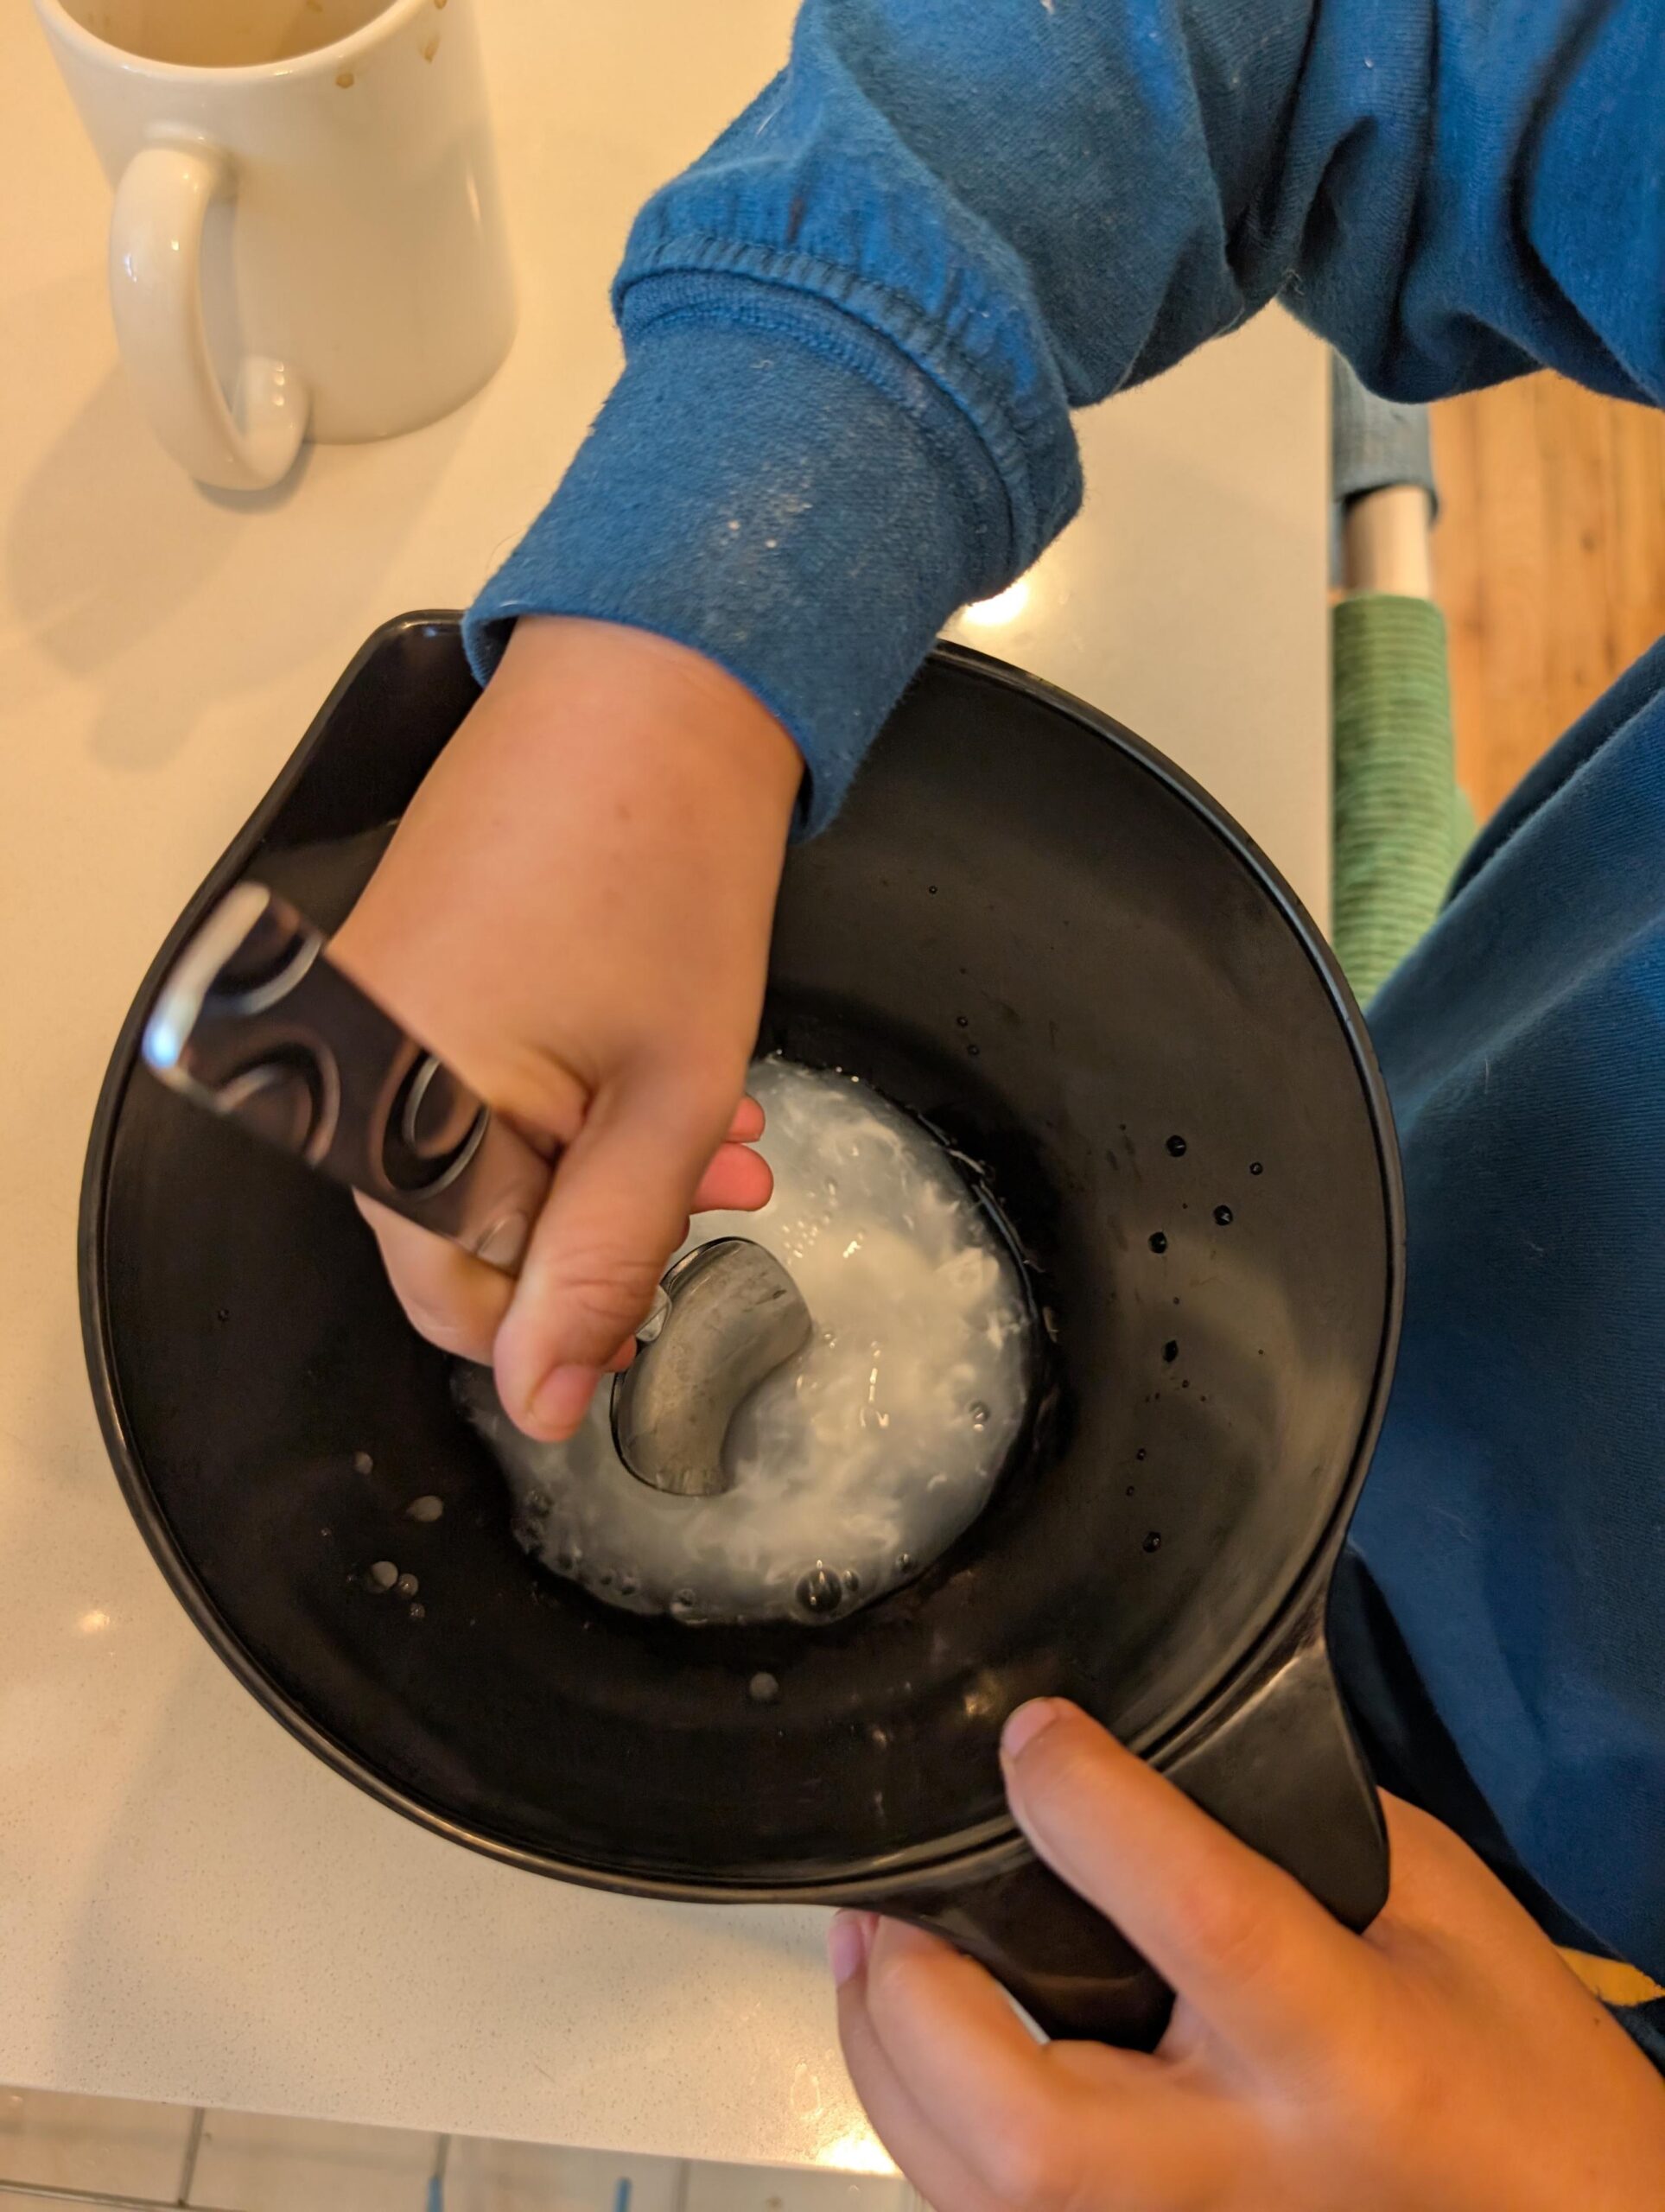
2. Soak your fabric in the glue and water mixture
3. Wring out the excess liquid
4. Take your small balloon and stack it on top of your cup
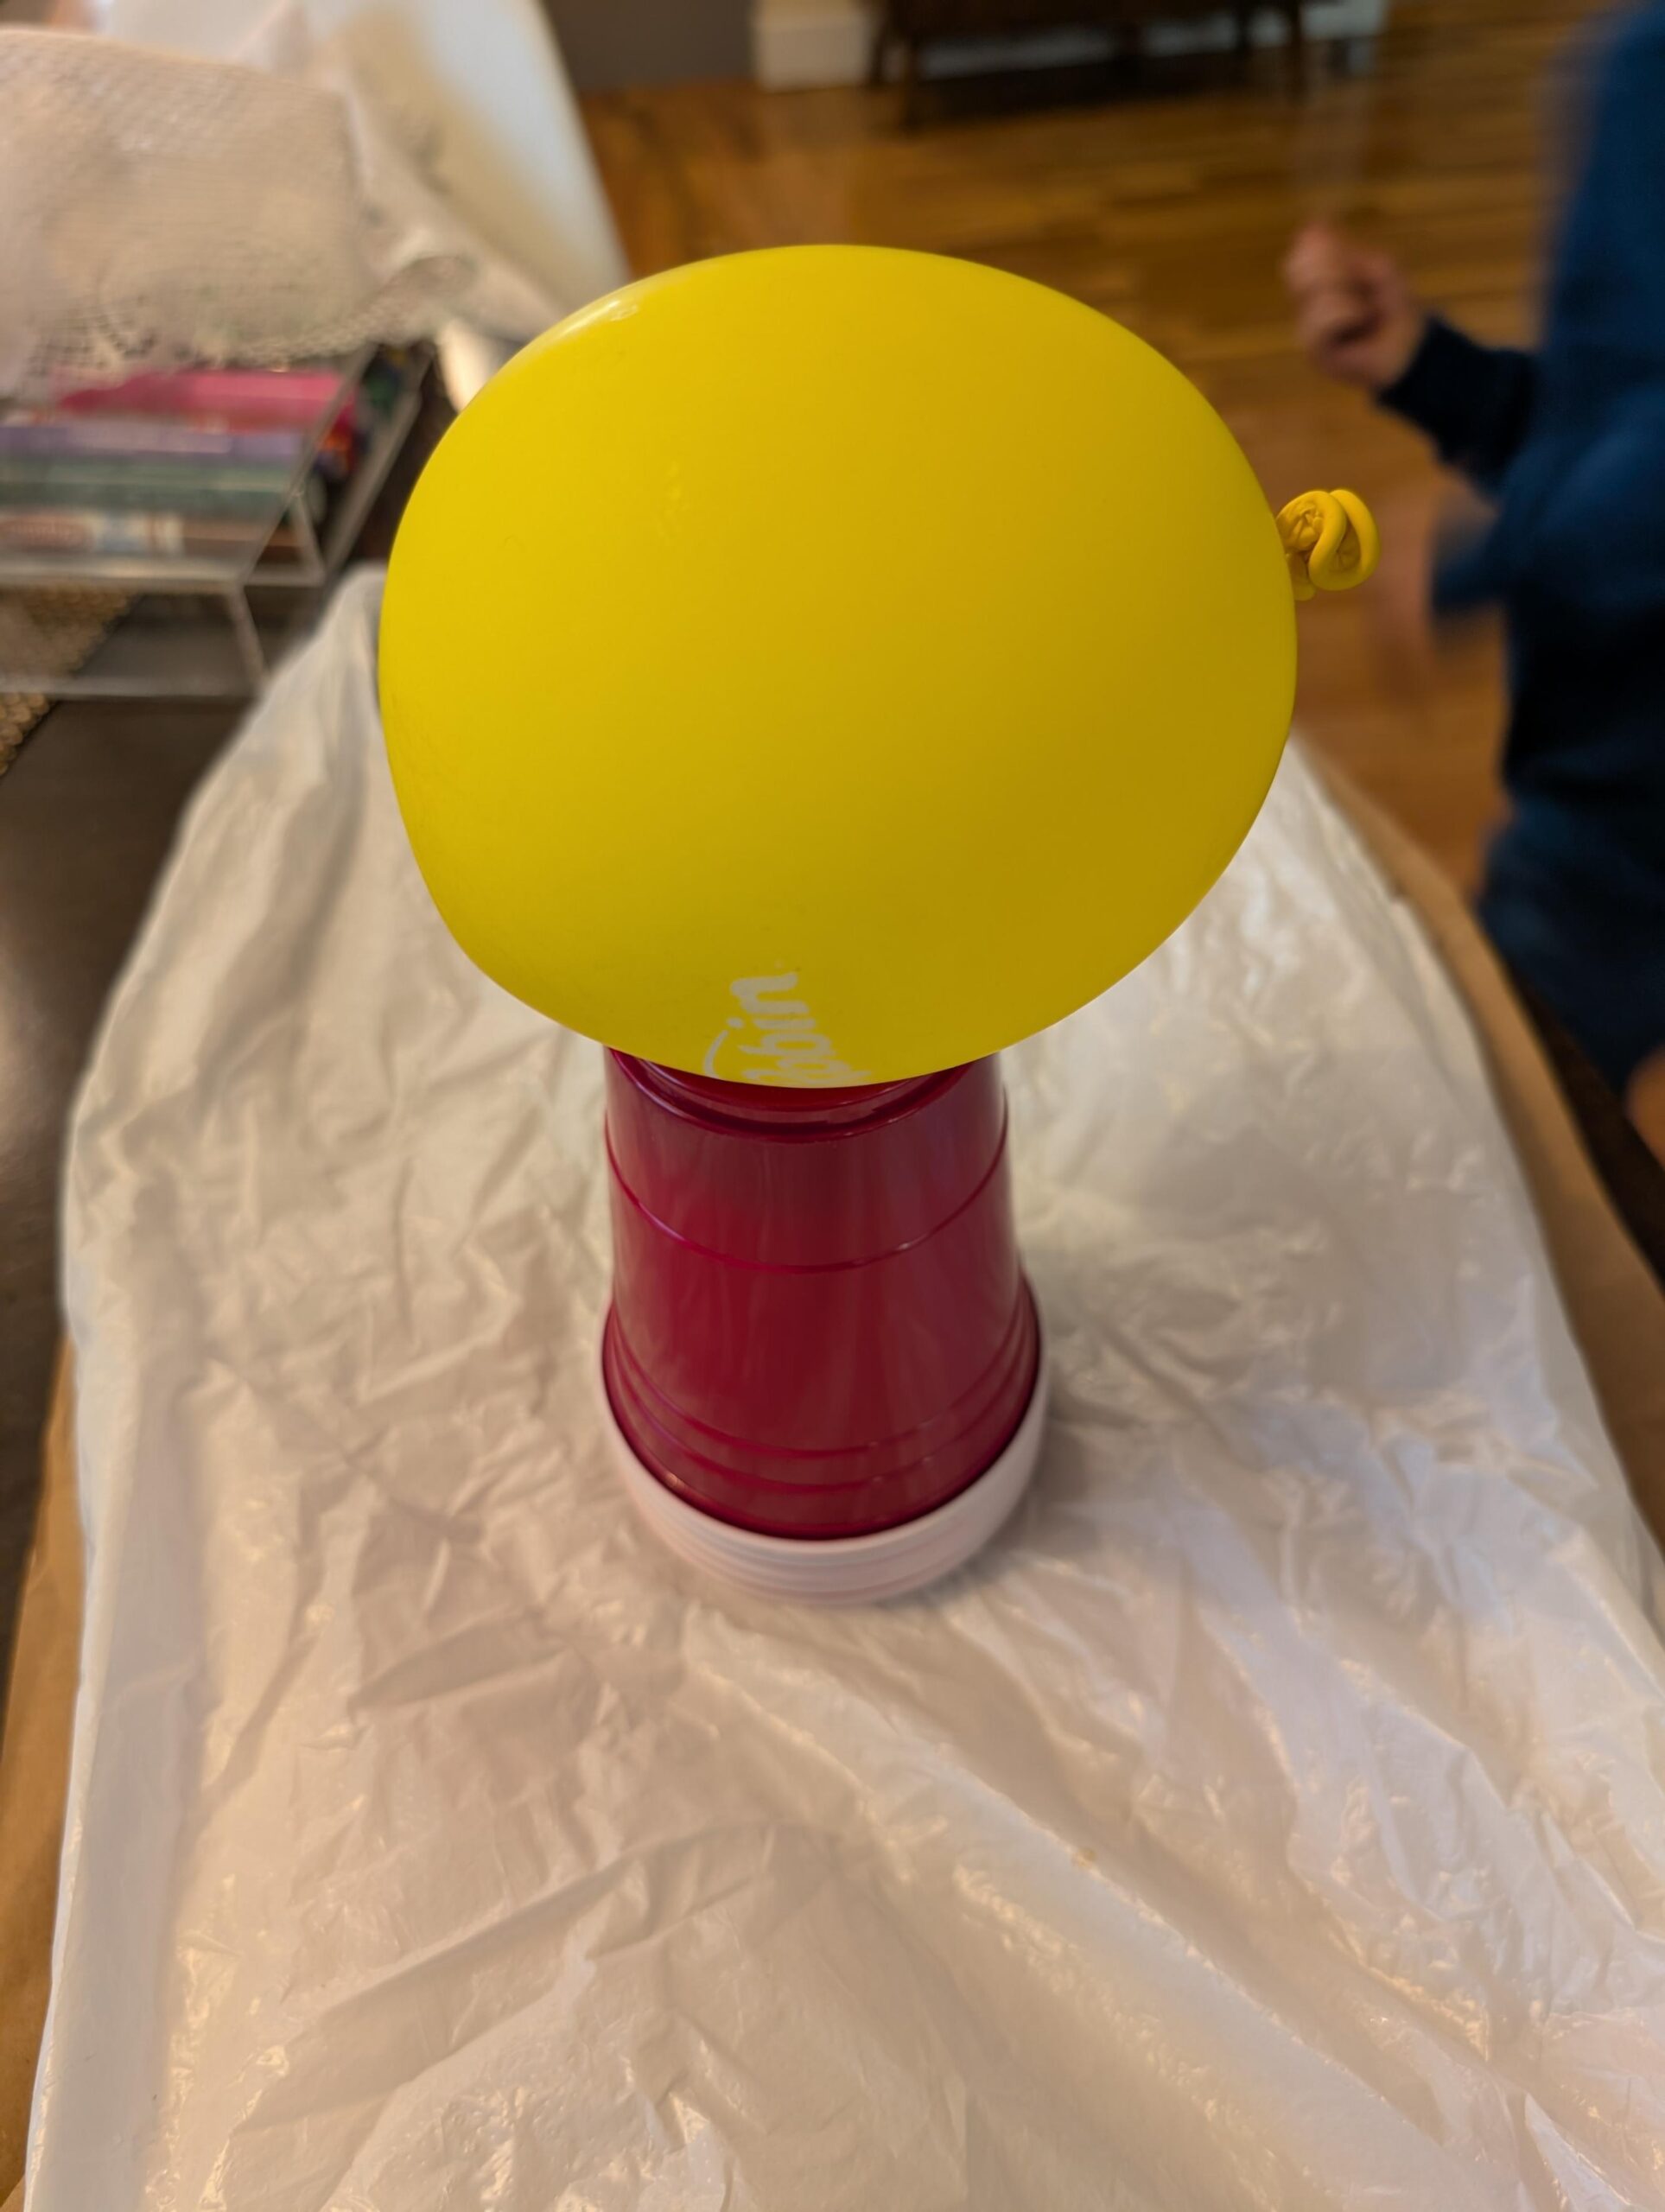
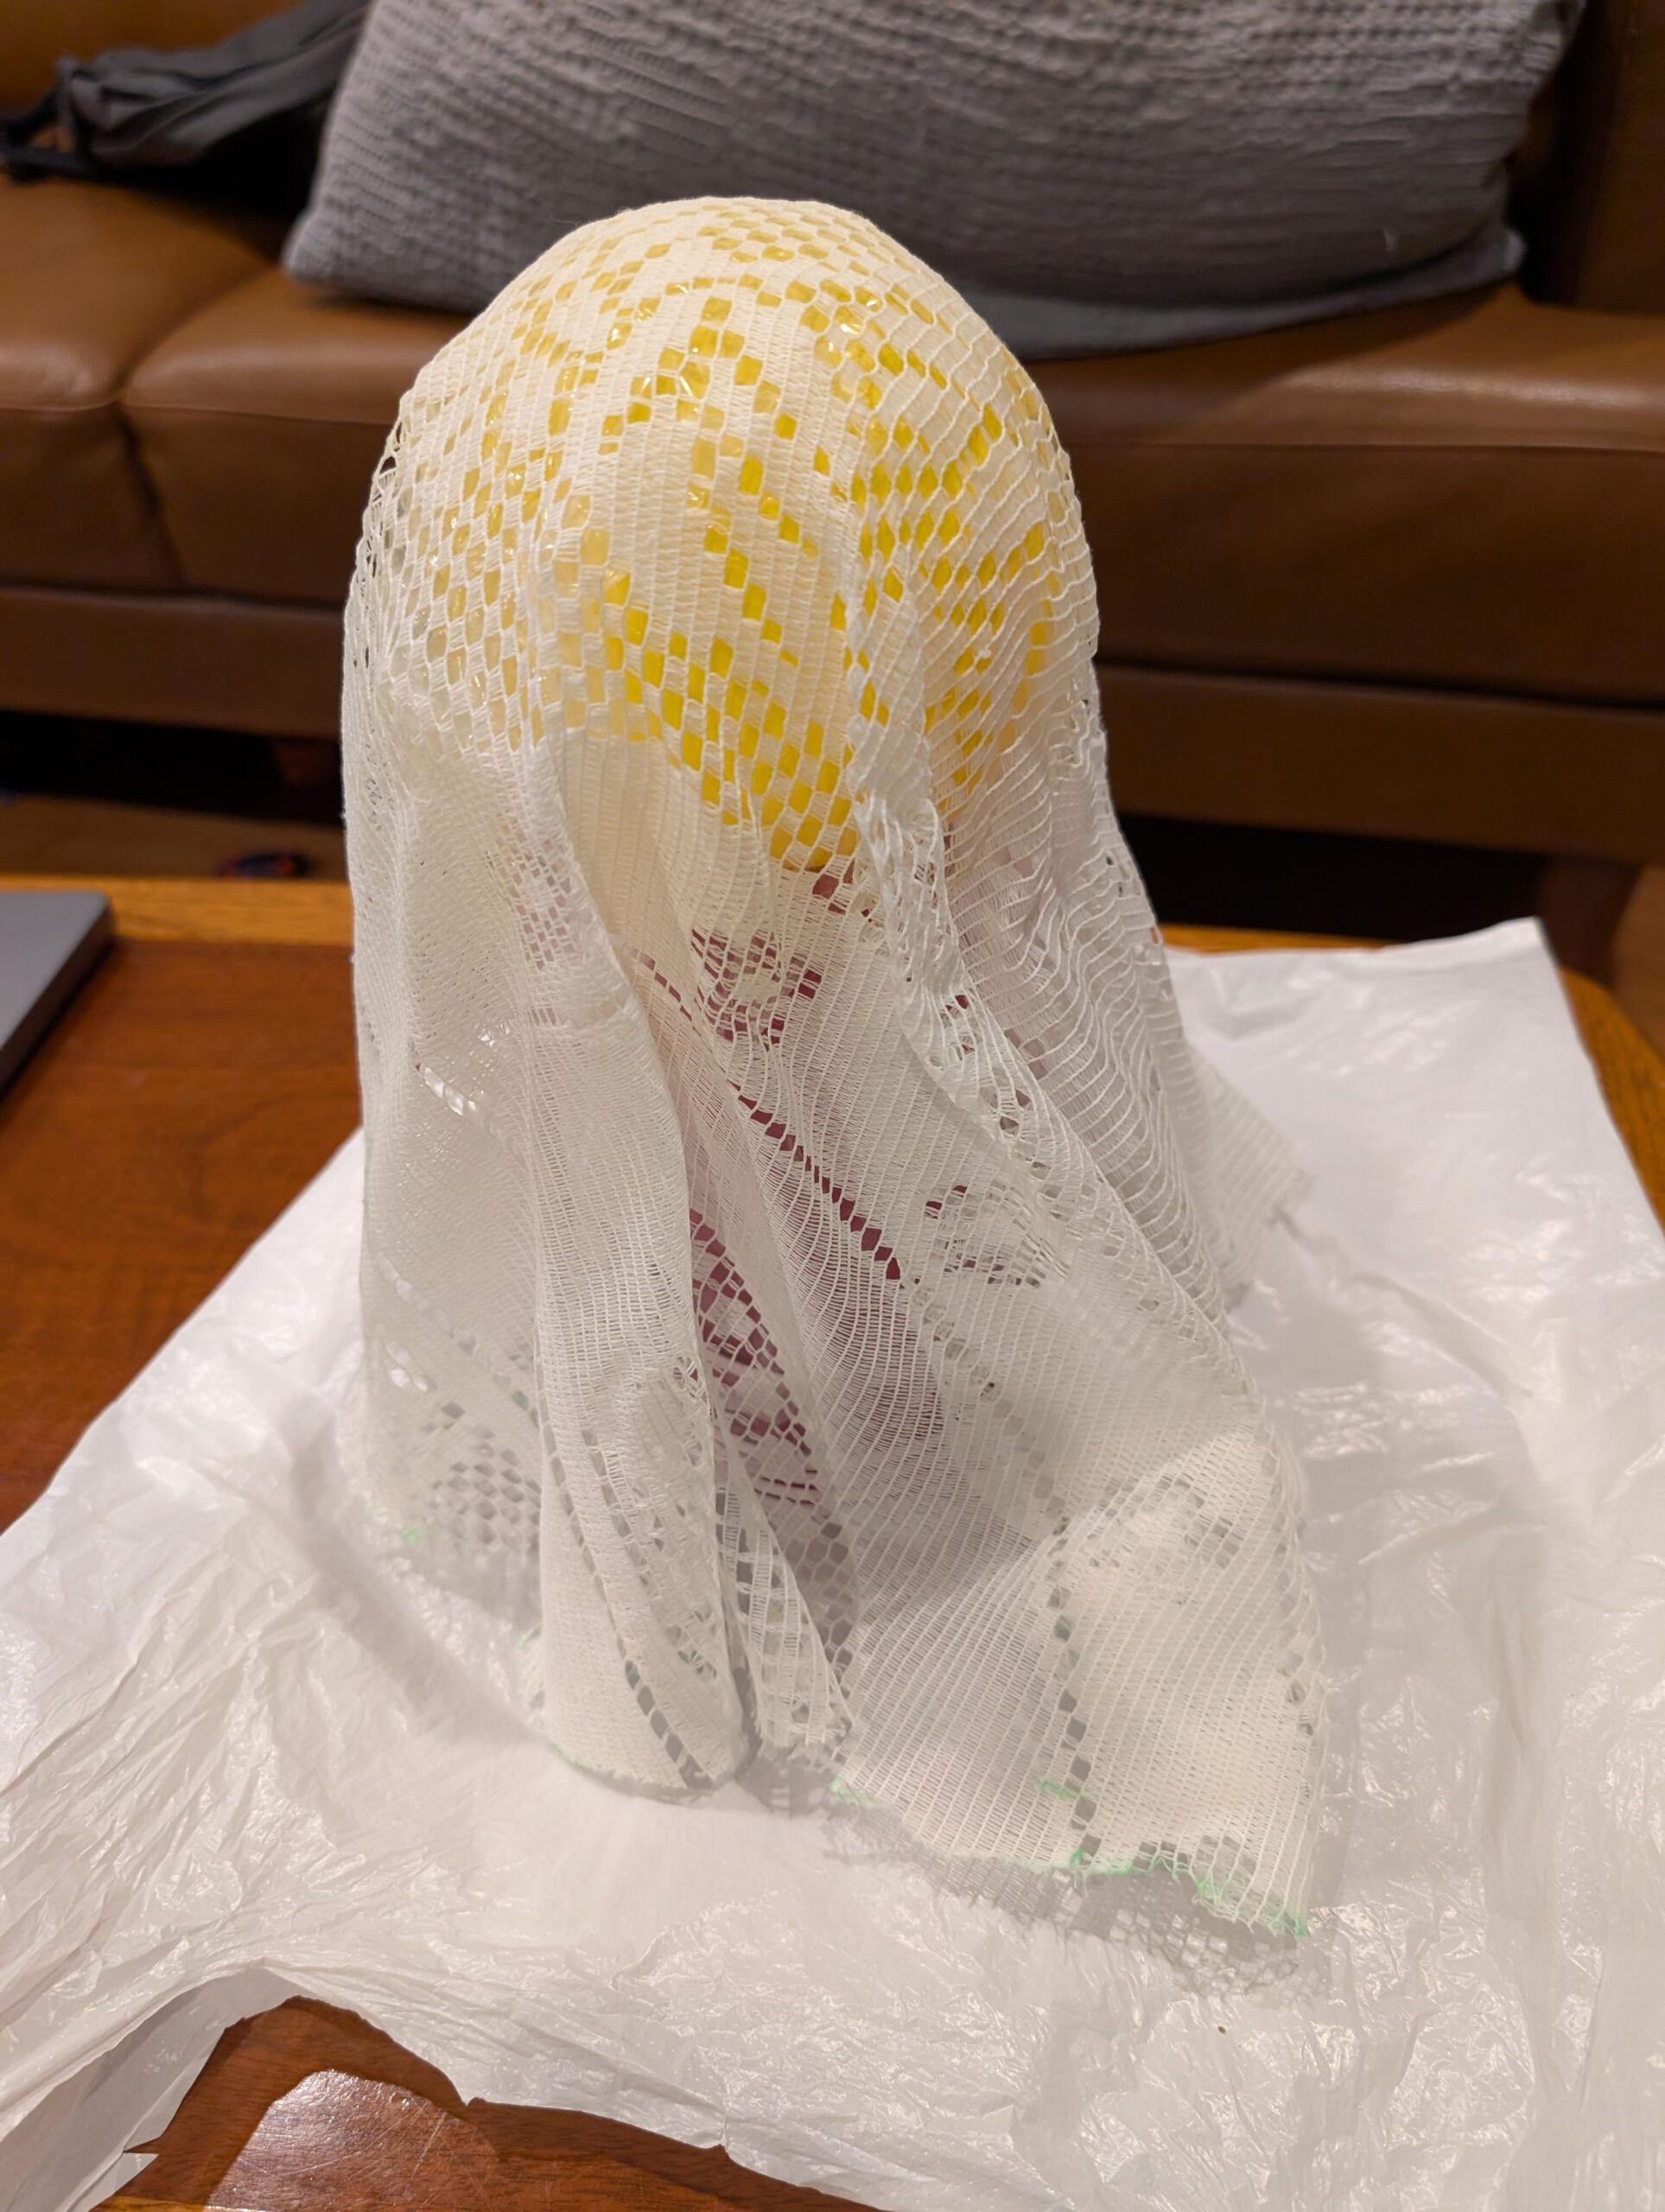
5. Drape your lace fabric over the balloon/cup and form the shape of your ghost
6. Let the lace fabric dry
7. Once the fabric has dried, remove the cup and balloon
8. Glue on your google eyes to create a spooky face
9. Reveal your DIY ghost!
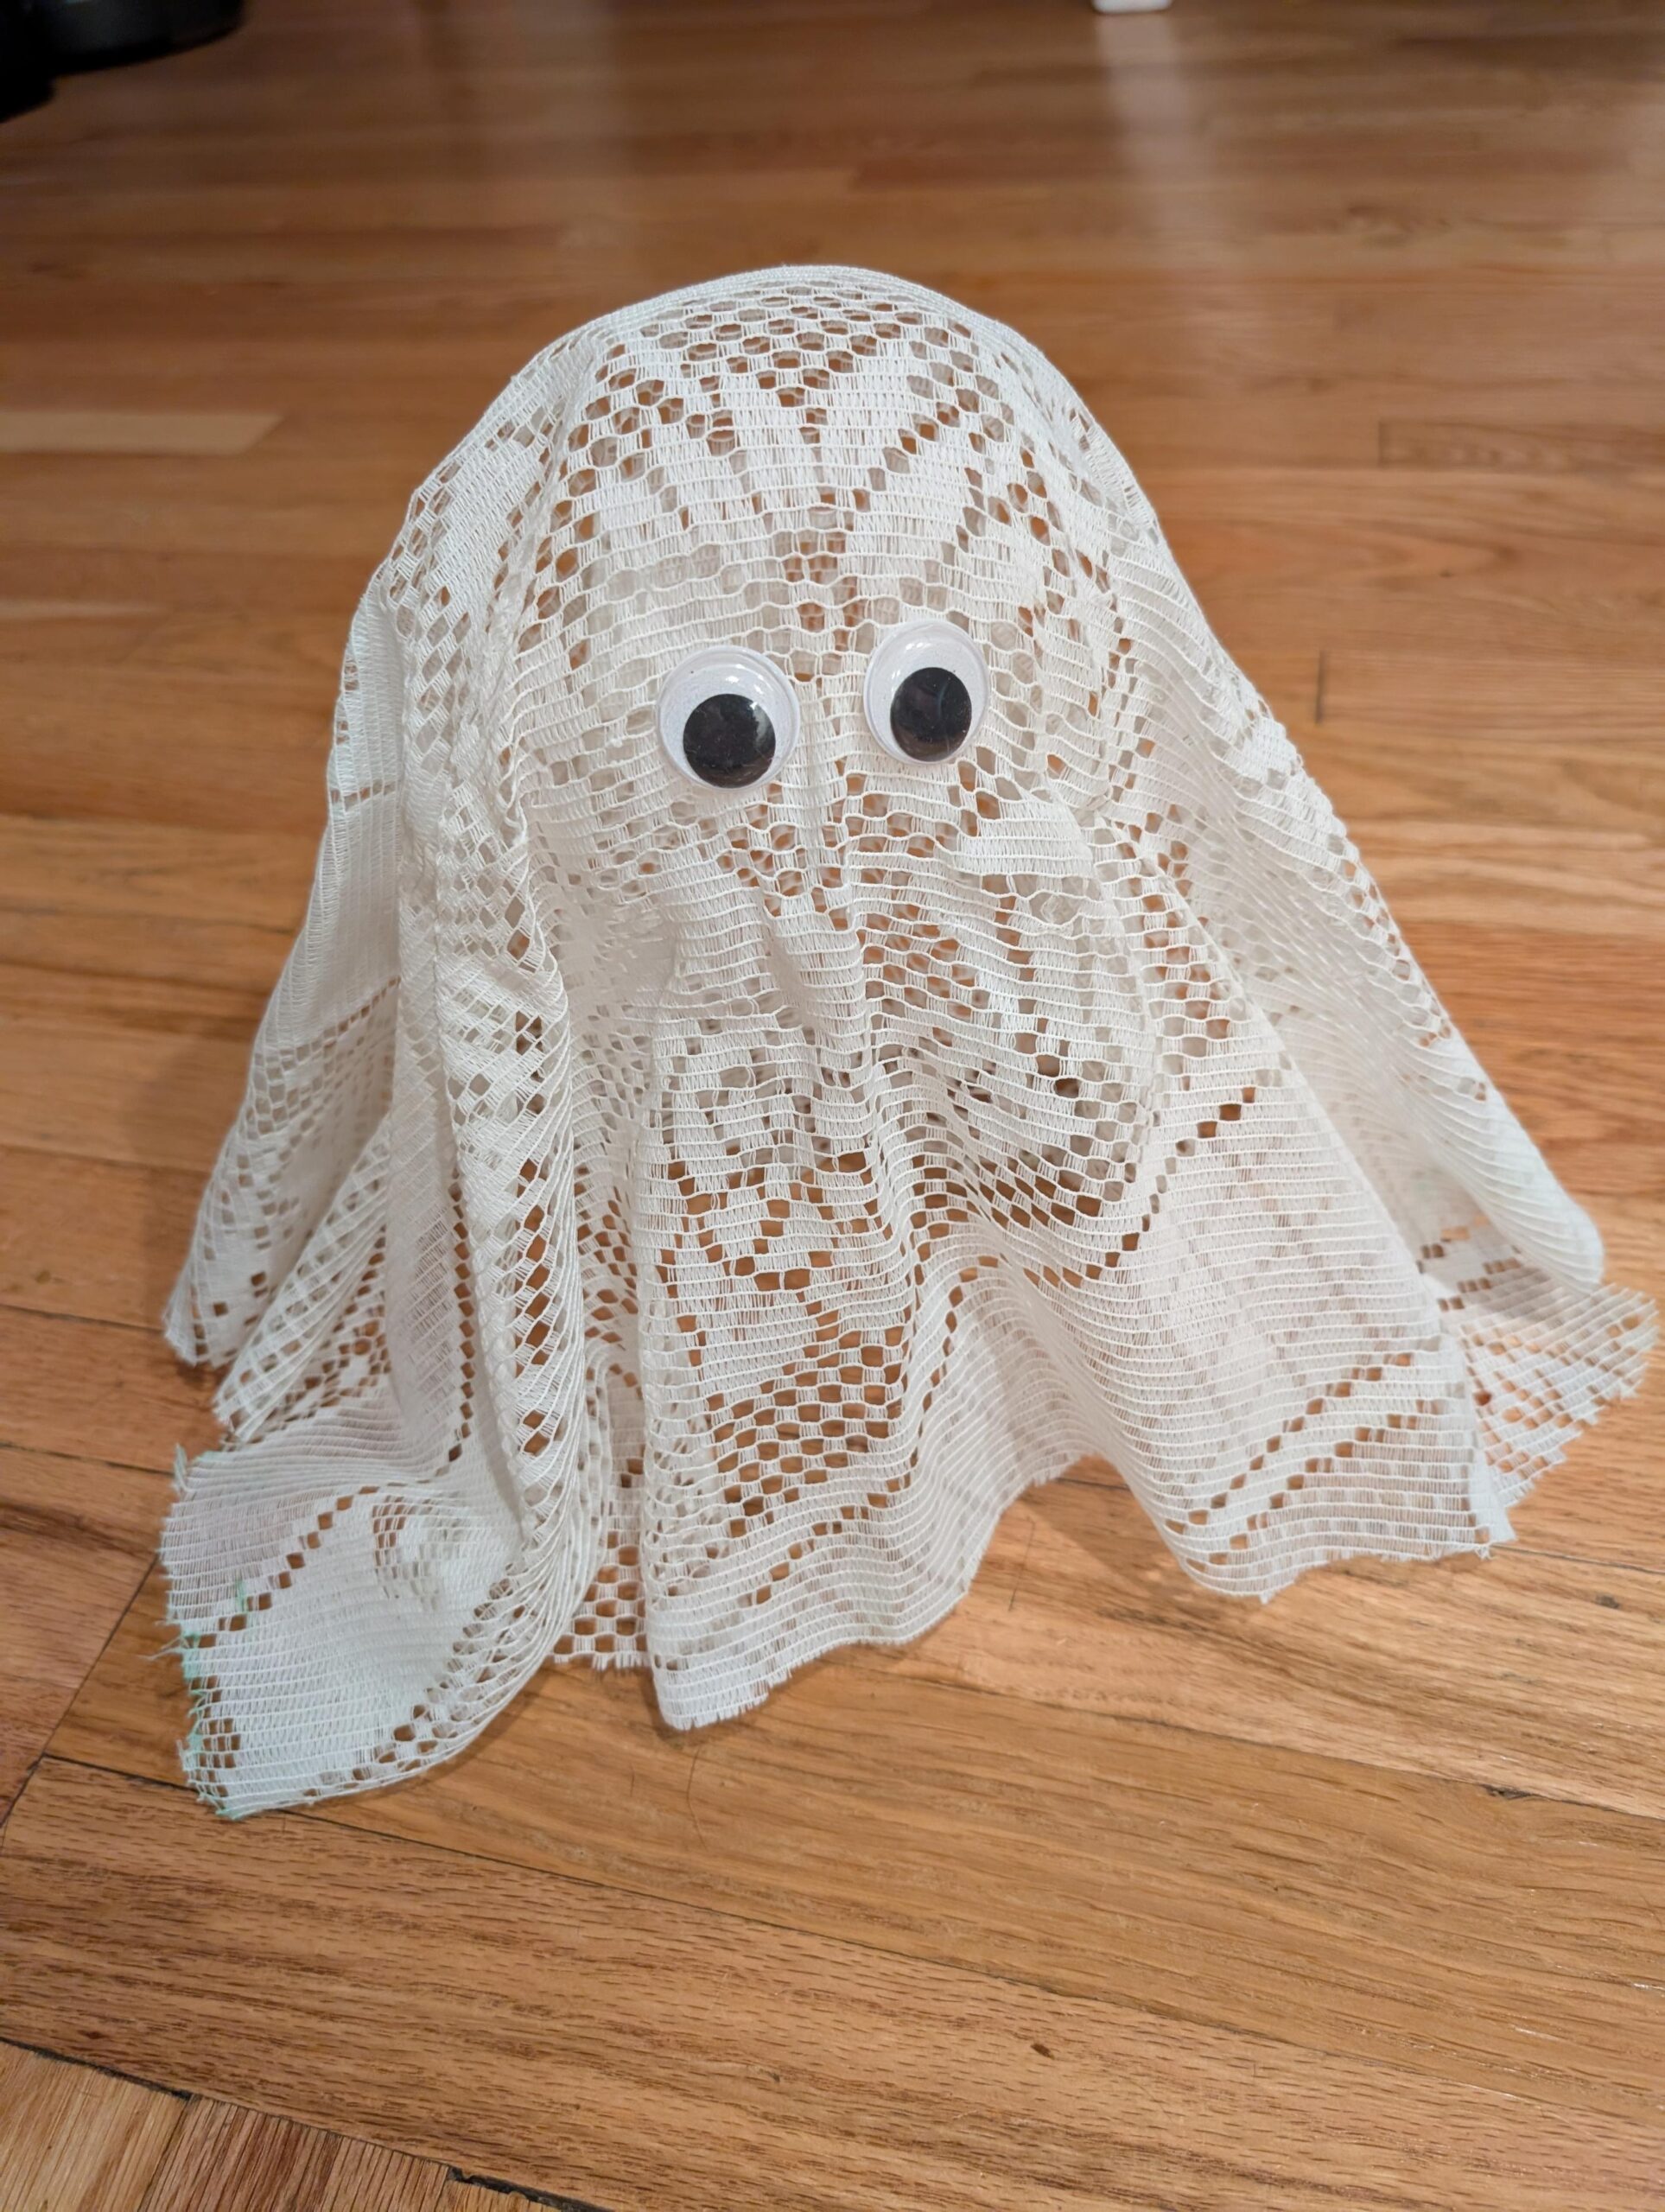
Tip: Stick an electric light inside the ghost to elevate your décor!
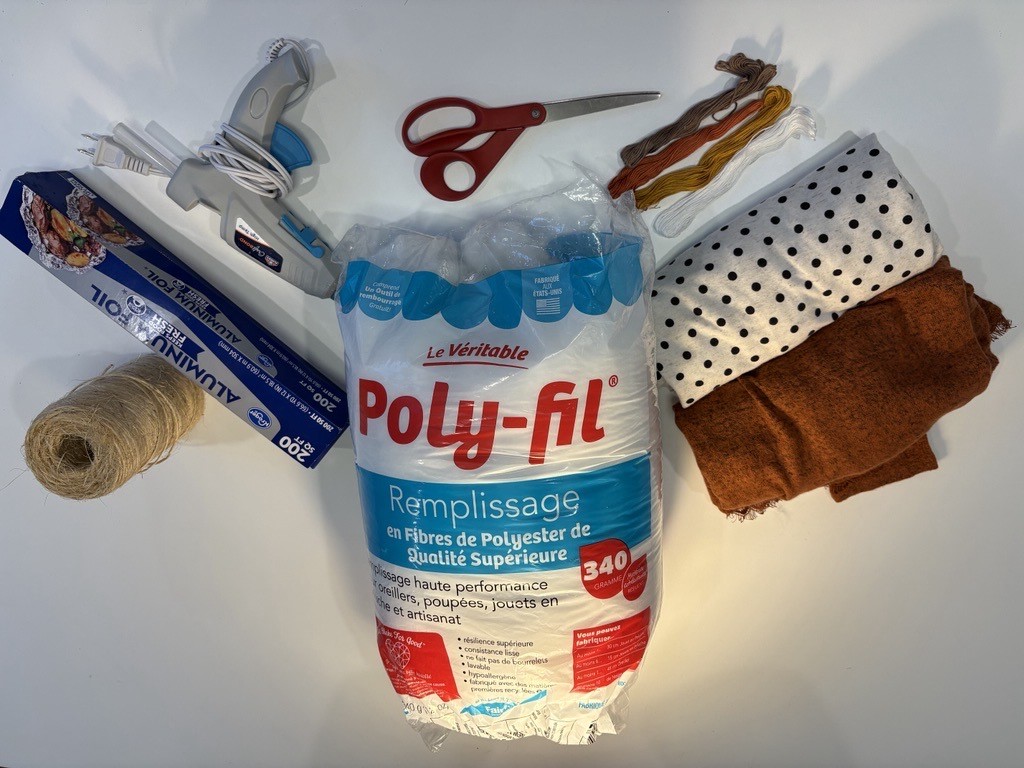
🎃 Thrifted Pumpkins
Perfect for: Cozy fall décor and no-sew crafters
What you’ll need:
- Thrifted fabric (T-shirt, table cloth, etc.)
- Scissors
- Liquid glue or hot glue gun
- Yarn or twine
- Rubber band
- Stuffing (fabric scarps, pillow stuffing, etc.)
How to make them:
1. Cut your fabric into a circle of your desired size—this will be the general size of your pumpkin.
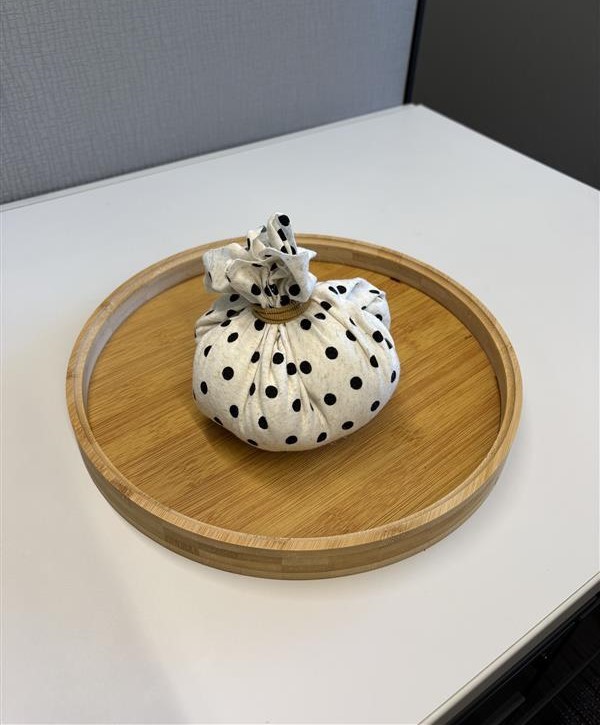
2. Lay the fabric flat, wrong side up, and place a handful of stuffing in the center.
3. Gather the edges of the fabric up toward the middle, covering the stuffing, until you form a round shape.
4. Secure the top tightly with a rubber band to hold it closed
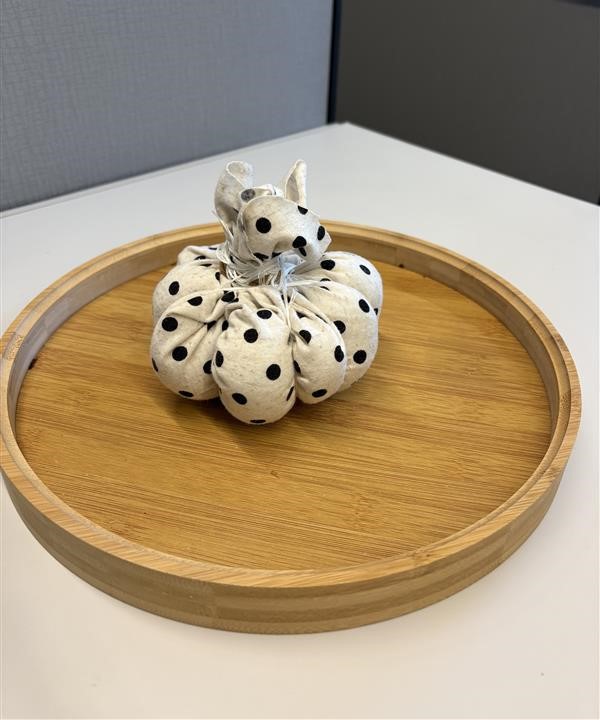
5. Wrap yarn around the pumpkin vertically several times, pulling slightly to create ridges. Once you’ve formed your desired amount of ridges, secure the end of the yarn by gluing it down.
6. Wrap the excess fabric at the top of the pumpkin with aluminum foil to create the pumpkin stem
7. Add glue to the base of the stem and begin sticking and wrapping your twine around it.
8. Once the twine reaches the top of the stem, trim the end.
9. Reveal your pumpkin!
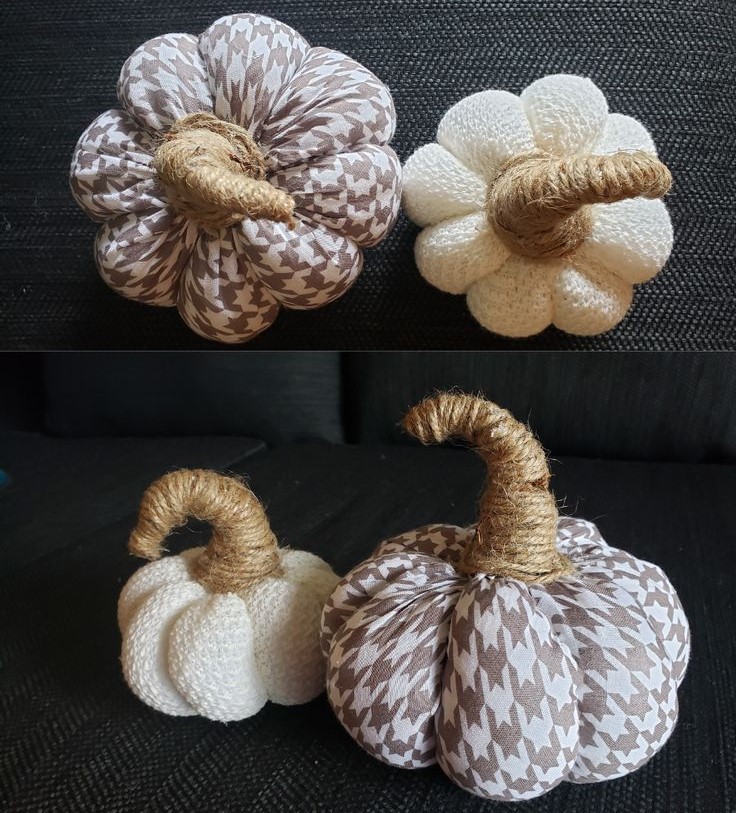
Tip: Use fabrics in different textures—ribbed knits, cotton blends, or patterns—for variety. Group them together for a soft, sustainable pumpkin patch that’s totally thrifted.
🖤 Spooky Frame Décor
Perfect for: Quick, stylish wall or table accents
What you’ll need:
- Thrifted picture frames (mix and match shapes and sizes)
- Black spray paint or acrylic paint
- Optional: spiderwebbing, ribbon, or lace trim
How to make them:
1. Remove the glass and backing from your frame.
2. Spray paint or hand-paint it black
3. Once dry, reassemble and add a black-and-white photo or spooky printout
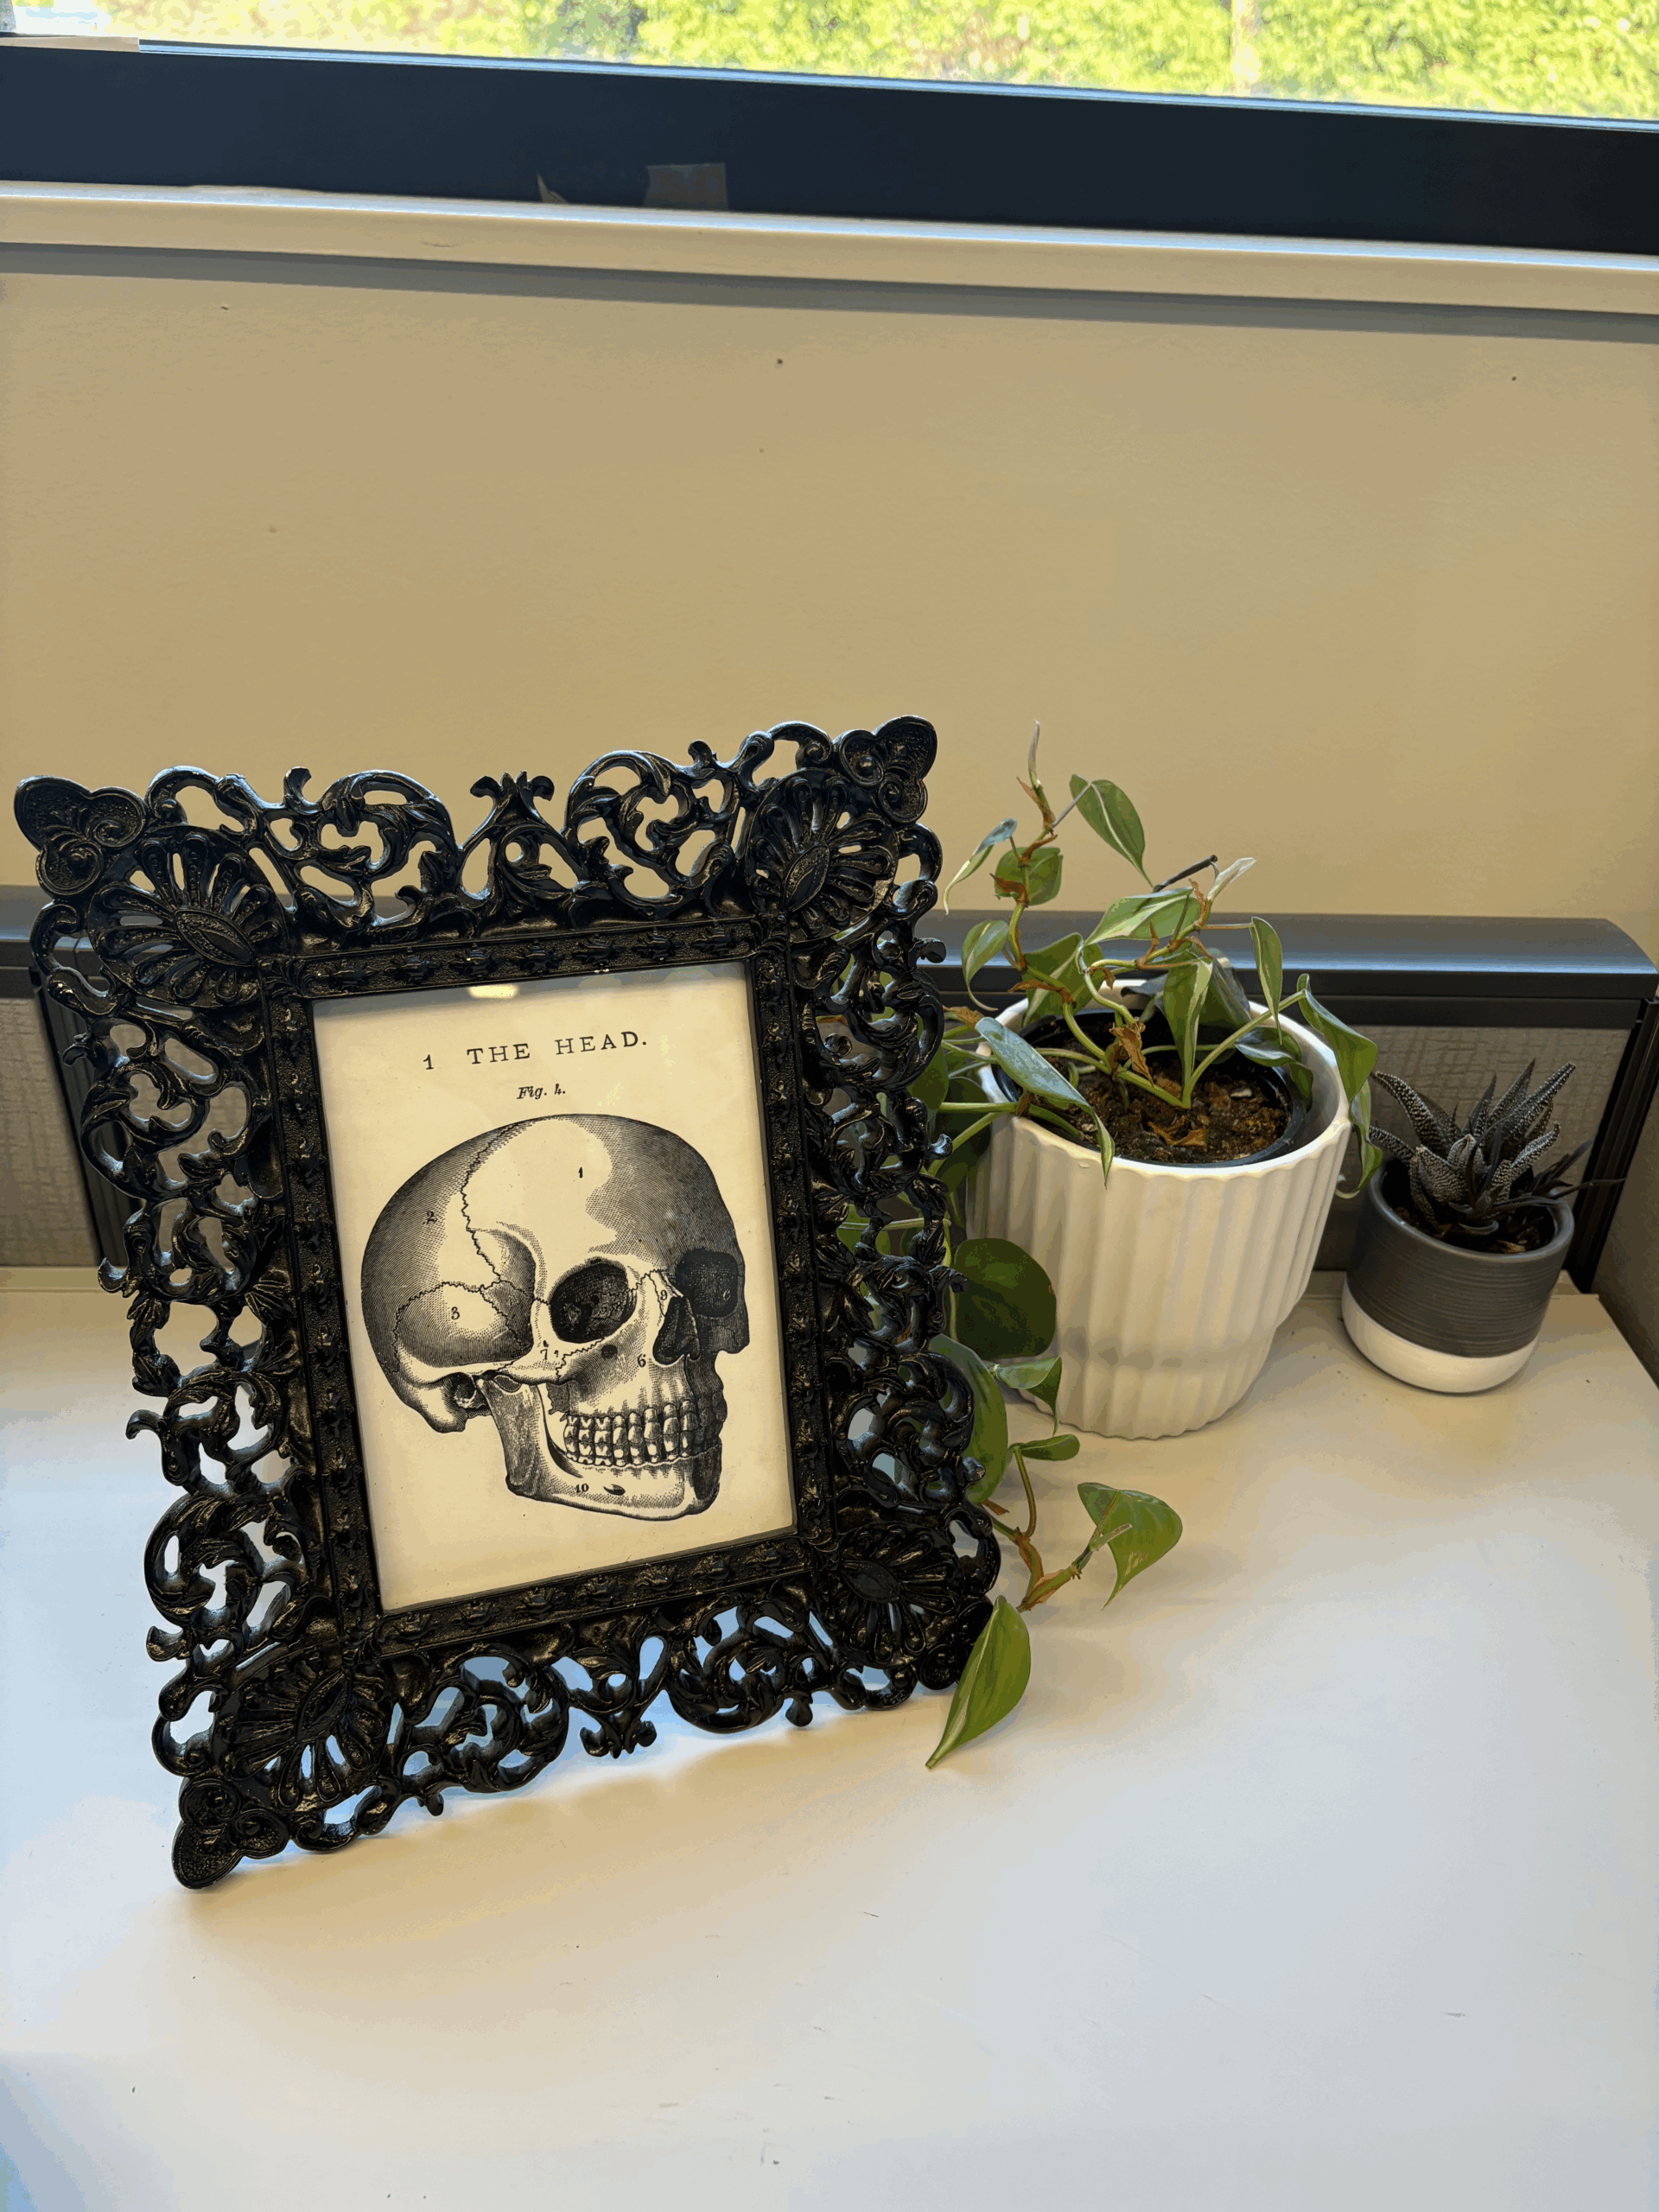
Tip: Arrange several together for a “haunted gallery wall” or use them as eerie backdrops for your entryway table.
🖌 Haunted Painting Remix
Perfect for: Art lovers
What you’ll need:
- Thrifted artwork or printed paintings
- Acrylic paints
- Paint brushes
How to make them:
1. Get a thrifted painting or print out a piece of artwork—bonus points for moody landscapes or portraits
2. Use your paint and brushes to get create and add to the original artwork: add ghostly figures, bats, pumpkins, or even eerie fog!
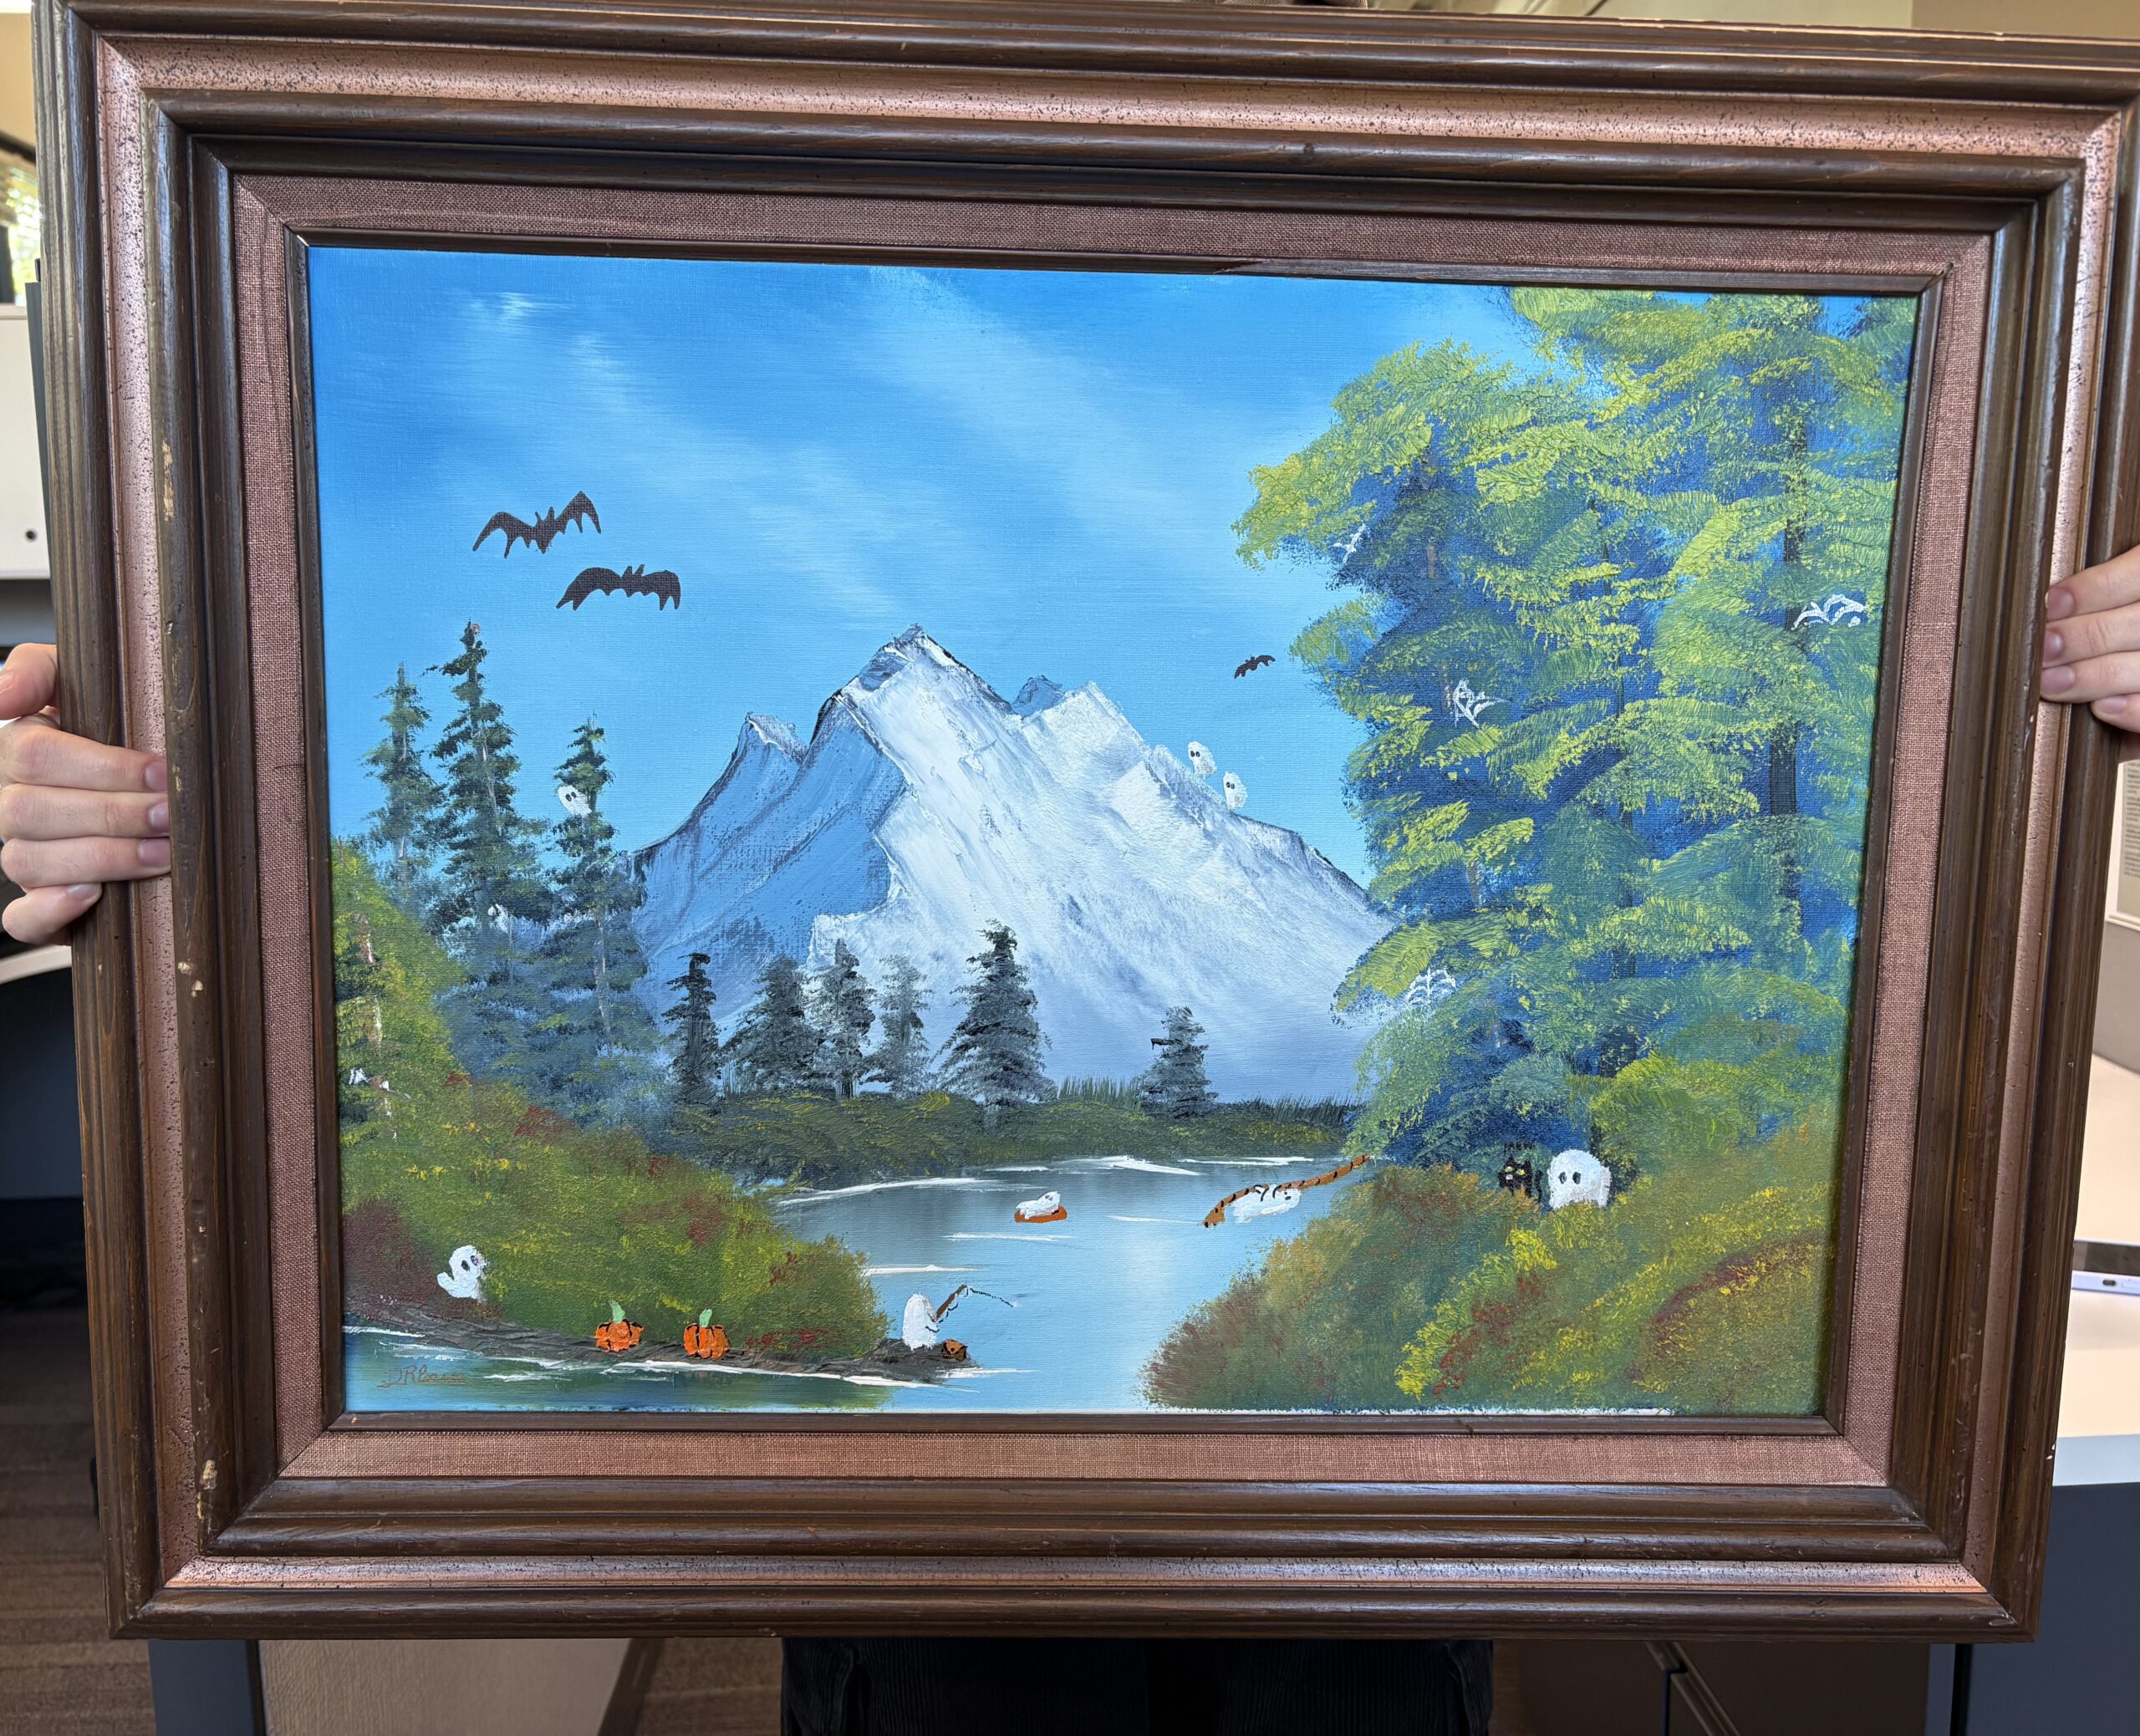
Tip: This project is completely customizable and suited for all skill levels. Just have fun with it!
Sometimes the best scares come from what you already have (or can thrift!). By reimagining everyday items from Goodwill, you can create décor that’s spooky, stylish, and sustainable. Every piece you craft gives new life to secondhand finds—and every Goodwill purchase supports free job training and education programs across Northwest Washington.